
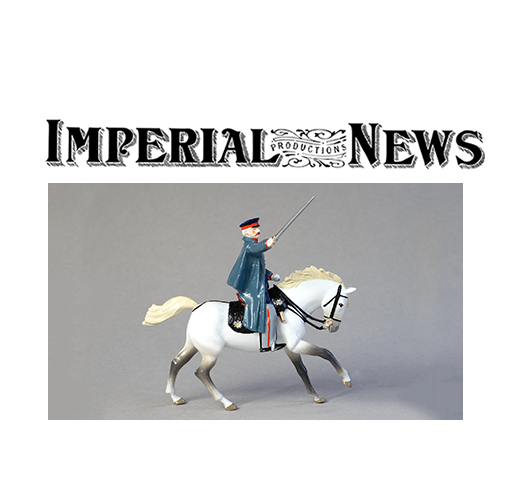
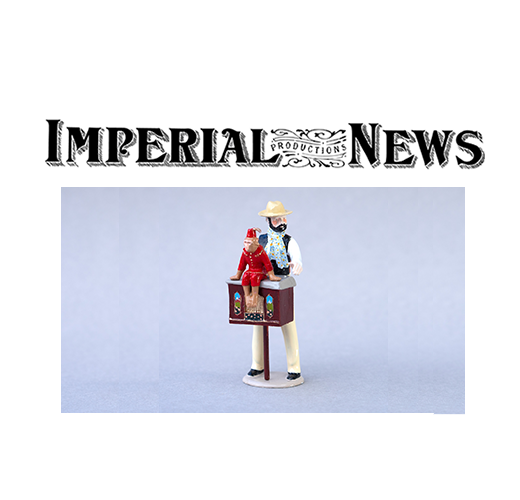
June 2021

Welcome to our June 2021 Newsletter

We are settling into winter here in New Zealand and while it’s getting colder outside, the furnace in the workshop keeps us toasty warm.
At the time of writing we have also just entered Covid Alert Level Two – a person with Covid visited Wellington from Sydney, Australia, last weekend. For us, Alert Level Two means that gatherings over 100 are prohibited and we will need to sit spaced apart from other customers at cafes and restaurants. We are aware that region-wide mandatory restrictions for a single Covid case will sound like a gross over-reaction to some of our international customers, but New Zealand’s Covid strategy has always been based on elimination rather than management. As a result we are extremely fortunate to have had very few Covid cases here and life has proceeded more or less as usual (although we would love to attend some international toy soldier shows). This is a reminder that we are not out of the woods yet.
Our workshop continues to operate as normal under Level Two, but if any new Covid cases are discovered we may move to Level Three which is essentially a lockdown. We have spent some time this week contingency planning for Level Three and are happy to say that we will still be able to operate if that happens, but there may be some production delays.

This month we wanted to share with you the steps that make up our manufacturing process here at Imperial. Here is how we manufacture a toy soldier, in eleven simple steps!
1. Design meeting
Together with David we have prepared a wishlist of new sets that we would like to bring to market, and we have regular design meetings which help to whittle down the wishlist into a forward work schedule. Choosing which new products to introduce next is always well-debated.
Why do we choose to make particular sets? It may be because it fills a gap in our existing offering, or because we have had overwhelming customer demand for a new product in a particular collection, or perhaps to bring balance to an existing collection. It may be because it is a particularly attractive unit, for example if a regiment has a very beautiful uniform it is more likely to make the cut! We also decide on the size and shape of the set – how many figures and poses will be featured? The decision is guided by David, who will be sculpting the figures. Design meetings often take place over coffee in Greytown, and are sometimes interrupted by locals stopping by the table for a chat.

Autumn leaves are far more interesting than a planning discussion in Greytown
2. Research
We put a lot of effort into researching the figures to ensure that they are historically accurate. Research also helps in identifying poses and combinations of figures that will appeal to collectors. We are lucky to have the invaluable help of experts and collectors around the world to help with researching uniforms, equipment and historical context.
Our figures are not exact detailed replicas: they are stylised in such a way as to retain a clear representation of the person or object, but with an artistic interpretation that preserves the tradition of the glossy toy soldier. It is in this unique blend that the art of Imperial's figures is expressed.
3. Sculpting the original models
The next step is for David to sculpt the figures, which he does entirely by hand using an epoxy modelling product. As you will appreciate this sculpting process takes time, and the beauty of his sculpts is a critical element in the charm and appeal of Imperial figures. He sculpts one figure for each different pose in the set, carefully making sure that any pieces that need to fit together, for example, horse and rider, do so. A number of Imperial figures are designed in such a way that they need to be glued in order to put them together, so the sculpting process needs to make provision for parts of figures to be separated, for example, an arm may need to be glued to a body. David’s long experience in casting these figures himself means that he knows what will and will not work in the mould and the casting machine, uniquely qualifying him as a sculptor. His sculpting skill in itself is second to none, but his ability to sculpt in such a way that the figure can successfully be spin-cast, is incomparable.

An in-progress view of the Blücher original model, getting the rider to fit the horse
4. Drop-casting
The fourth step is drop-casting (sometimes called gravity investment casting) the pattern 'masters’. This is a way of making a limited number of metal copies of the original sculpt, one at a time, without any risk of damaging the original. These copies are called masters, which will then be used to make the production moulds for casting.
We typically create a two part silicone mould which is then clamped together. We then pour molten metal in through the feeder hole in the top, filling the mould from the bottom. Shaking the mould gently before the metal hardens releases any air bubbles. Once cooled, we release the copy and carefully file off any excess. We take special care to get these as clean and perfect as possible so as to make the best quality production mould impressions. We produce a whole set of masters in this way, one at a time.
We will produce more masters than we need, in case we encounter any problems in creating the production moulds.

5. Mould making
`In the fifth step, we lay out the masters in a raw mould. This is a pair of soft circular silicone or black rubber discs. We import these raw moulds from Nicem in Italy, the manufacturer of our machinery. We had fond hopes of being able to travel to Italy with empty suitcases to purchase some new moulds and bring them back to New Zealand, but that trip will have to wait until the world opens up again!
We lay the masters out in the mould in such a way that when the metal is forced at high speed into the cavities, it will fill the cavity completely without trapping air – this is a real science given the complexity of some of the shapes. We press the masters into the soft silicone and excavate or build some areas using spare silicone, which has a plasticine-like consistency, so that the casting casts completely and doesn't get trapped in the finished mould. We talc each side of the mould before clamping the two discs together.
Then the mould goes in the vulcaniser, which compresses and heats the silicone for several hours at a set temperature. The warm silicone settles around the masters, creating the negative space that will form the cavities for casting. When the mould comes out and cools off, we prise the discs apart and carefully peel the masters out. All going well, we are left with master-shaped indentations in the now-solid silicone mould.
We now need to “gate” the mould – we carve a channel to each master through which the metal will flow. We also carve tiny vents to allow for that air that is displaced by the metal to escape. These are long hair-like channels that go through to the outside wall of the mould. We try to have as few vents as possible and locate them in places that be easily filed down without interfering with the finish of the castings.
After making the mould we save the masters to be used again should we need make a fresh mould in the future. Masters are the lifeblood of the business so we keep them in a special set of fireproof drawers. We have masters from every set ever produced by Imperial.

Laying out a mould for set TA71 Piggyback Girls - you can see where some areas have been built up using spare silicone, for example under the hands
6. Spin-casting
Customer orders start at this step, unless we need to re-make the mould for a set that a customer has ordered.
We put a quantity of our pewter alloy in the furnace, heat it up to around 285 degrees Celsius, and clean the metal by skimming off any impurities. We then talc the mould for the relevant set and put it in the spin-casting machine. The machine clamps the mould closed and spins it anywhere up to 1000rpm, while we pour molten metal through a hole in the top using a ladle. Inside, the metal flows through the gates and into the little soldier-shaped cavities. Different moulds require different pressures and speeds and the moulds need to be warmed up a bit to produce quality castings. Each mould also needs a particular amount of molten metal; if we use too little we get comical half-horses and half-chickens. The metal cools quickly so the spin-casting machine stops after a few minutes and we open the mould to remove the castings.
Some sets have several moulds with various components, for example, a set may have separate moulds for the horses, troopers, arms and equipment, so we repeat the step using each mould that includes pieces in the set ordered.

Production castings for sets 107 and 110 in a new silicone mould, showing where the molten metal flows through the thick "gates" into the cavity. Gating into the base of the figure makes for a clean final product as all bases are filed flat. The long thin channels are air vents. The metal pins are "locator studs" which line up the top and bottom halves of the mould.
7. Preparing the castings
We tip the castings out onto the metal bench to cool off and put the moulds in the cooling rack for re-use. We inspect the castings closely – if they are less than perfect we reject them to ultimately be returned to the furnace. The metal will also have cooled inside the gates so we snap the gates off and file the raw edge if necessary. If there are any “seams”, or flashing, where a tiny piece of metal has leaked between the top and bottom of the mould, we file it off. Although we carve the vents on the moulds in such a way that they don't leave marks on the castings, we do generally need to carry out some filing and sanding to prepare each figure for painting.
Some pieces are cast separately and need to be glued together before painting or have wires inserted, for example, flags, so we do this too.
8. Deciding paint colours
For military sets we will have thoroughly researched uniform accuracy and correct colours even before deciding to bring the set into production, so the only questions will be the colours of the horse, and the figures’ skin and hair. For character figures we aim to stay as close as possible to the actual person’s recorded characteristics. For our Town and Around range however, this is that point at which we decide paint colours. We do this by mocking up a few options and jointly deciding which we prefer. Colours for this range have changed slightly over time, which reflects changing public taste.
We record the colour "recipe", which covers not only what colours go where on the figure, but how to mix the colours that are used. This ensures a consistent quality over time. We keep a sample copy of each final painted item to use as a painting reference, which is especially useful when it comes to painting items in our catalogue that are ordered infrequently.
9. Priming
We spray all figures with a primer before they are painted with topcoats. For each figure we choose the priming colour to be sympathetic to the final paint colours.

10. Topcoats
Lisa paints all of our figures in the painting studio using the paint recipes and sample figures mentioned above. All of our paint colours are mixed by hand in small quantities, as it does not last long. The painting process can be long, sometimes as many as 20 or 30 separate painting steps, each needing to dry and be applied in the correct order, as an error will be impossible to correct otherwise. As Lisa gets to the finer details of a figure the steadiness of her brush is increasingly important. We receive so many comments on the high quality of Imperial's painting and are so lucky to have Lisa’s skill and experience on board. After many years of dedicated painting she has this down to a very fine art!

11. Packaging
We hand-make all of our boxes using card cut to size by a local print company. We fold and glue it into box bases and lids, and cover them with our special maroon Imperial star paper. Once the sets are completed we cut a foam insert for that set to fit into the box. We tie horses in to the boxes using a soft cotton string, and place other figures carefully into the foam. We slide the finished boxes into a white cardboard sleeve to keep the box closed. Finally we wrap our new Imperial tissue paper around the sleeve and seal it with a Coldstream Guards sticker. We pack it into a postal box, cushion it with biodegradable packing popcorn, and hey presto! The order is ready to be shipped to a lucky customer.
Phew!
: invalid url input -->)